Health Advisory

Nothing within this blog should be considered as medical advice and you should always consult your preferred medical professional.

Search This Blog

Showing posts with label honey. Show all posts

Wednesday, July 4, 2012

I love Muesli... or do I?


I really love muesli, the perfect muesli is a crunchy, chewy delicious start to the day. With the right combination of berries, yogurt and juice it could almost be considered manna from the heavens. I also hate muesli, let me tell you the ways!


  • I hate paying $8 for a tiny box that is mostly packaged air, so that pouring yourself a bowl of muesli leaves you with exactly enough muesli for 1 and a half maybe 2 more bowls if you are lucky.
  • I hate that when the box says ‘delicious Almond and Blueberry’ you have to engage in a culinary ‘Where’s Wally’ to find the 3 almonds they hid in the box
  • I hate that when the box says ‘delicious Almond and Blueberry’ the blueberries are almost certainly currants that have been dyed and flavoured.
  • I hate how much sugar is in most pre-packaged mueslis
  • I hate the marketing which paints something that is nutritionally uneventful as some sort of miracle superfood. Most commercially available mueslis share more in common with a box of candy than a box of healthy grains.
  • I hate muesli fillers like textured processed flakes and chunks that bulk up boxes of muesli for low cost and low nutrition.
  • Mostly I hate papaya. Papaya is something that muesli makers put in their boxes to torture me. A perfectly good box of muesli can be ruined by small sticky, sickly sweet globs of papaya.


I have tried a variety of times to make my own muesli, but always had fairly lack lustre results, often ending up with a combination of overtoasted and raw muesli. The heartbreak of wasting so many ingredients on muesli misfires finally wore me down and I stopped.

Until I unearthed my old harvest maid dehydrator and a recipe for gRAWnola that tickled my interest. A friend of mine follows a raw vegan blog and while raw vegan has never been a food jag that appealed to me, a lot of the recipes used by raw vegans are excellent examples of nutrient dense food on a budget so hearing about healthy, tasty granola that can be made in the dehydrator made me think of muesli.

Without further ado I emptied out the dry goods cupboard and threw together the most delicious muesli I have ever had. Even better, for the same cost of a box of premium muesli I made almost 5 litres of muesli which should last us a good fortnight or more.

This is what I chucked together

2 cups of organic buckwheat groats
.75 cup of unhulled sesame seeds
1 cup of pumpkin seeds
2 cups sunflower seeds
2 cups of oats
1.5 cups of coarsely chopped almonds
1 cup chia seeds
1 cup sultanas
.5 dried apricots diced up
1 cup of dried cranberries
1 cup linseed
1 cup shredded coconut
2 diced apples
3 tamarillos (I just squashed the flesh out in chunks)
1 heaped teaspoon of cinnamon
1 teaspoon of ginger powder

Then I melted .5 cup of virgin coconut oil and .5 cup of honey (please note, honey is not vegan) together before tossing the mix together to ensure an even coating. You could use juice concentrate, molasses, agave, maple syrup, pureed date or really anything you please as a sweetener and any oil as a binder. Important to note that all of these proportions are approximate, in most cases I literally just cleared out what was leftover in the cupboard.

I layered it onto my dehydrator and then had it on level 2 overnight.

The result was delicious!!!

Buckwheat groats form the basis for this recipe.

Chia seeds are nutrient dense little powerhouses

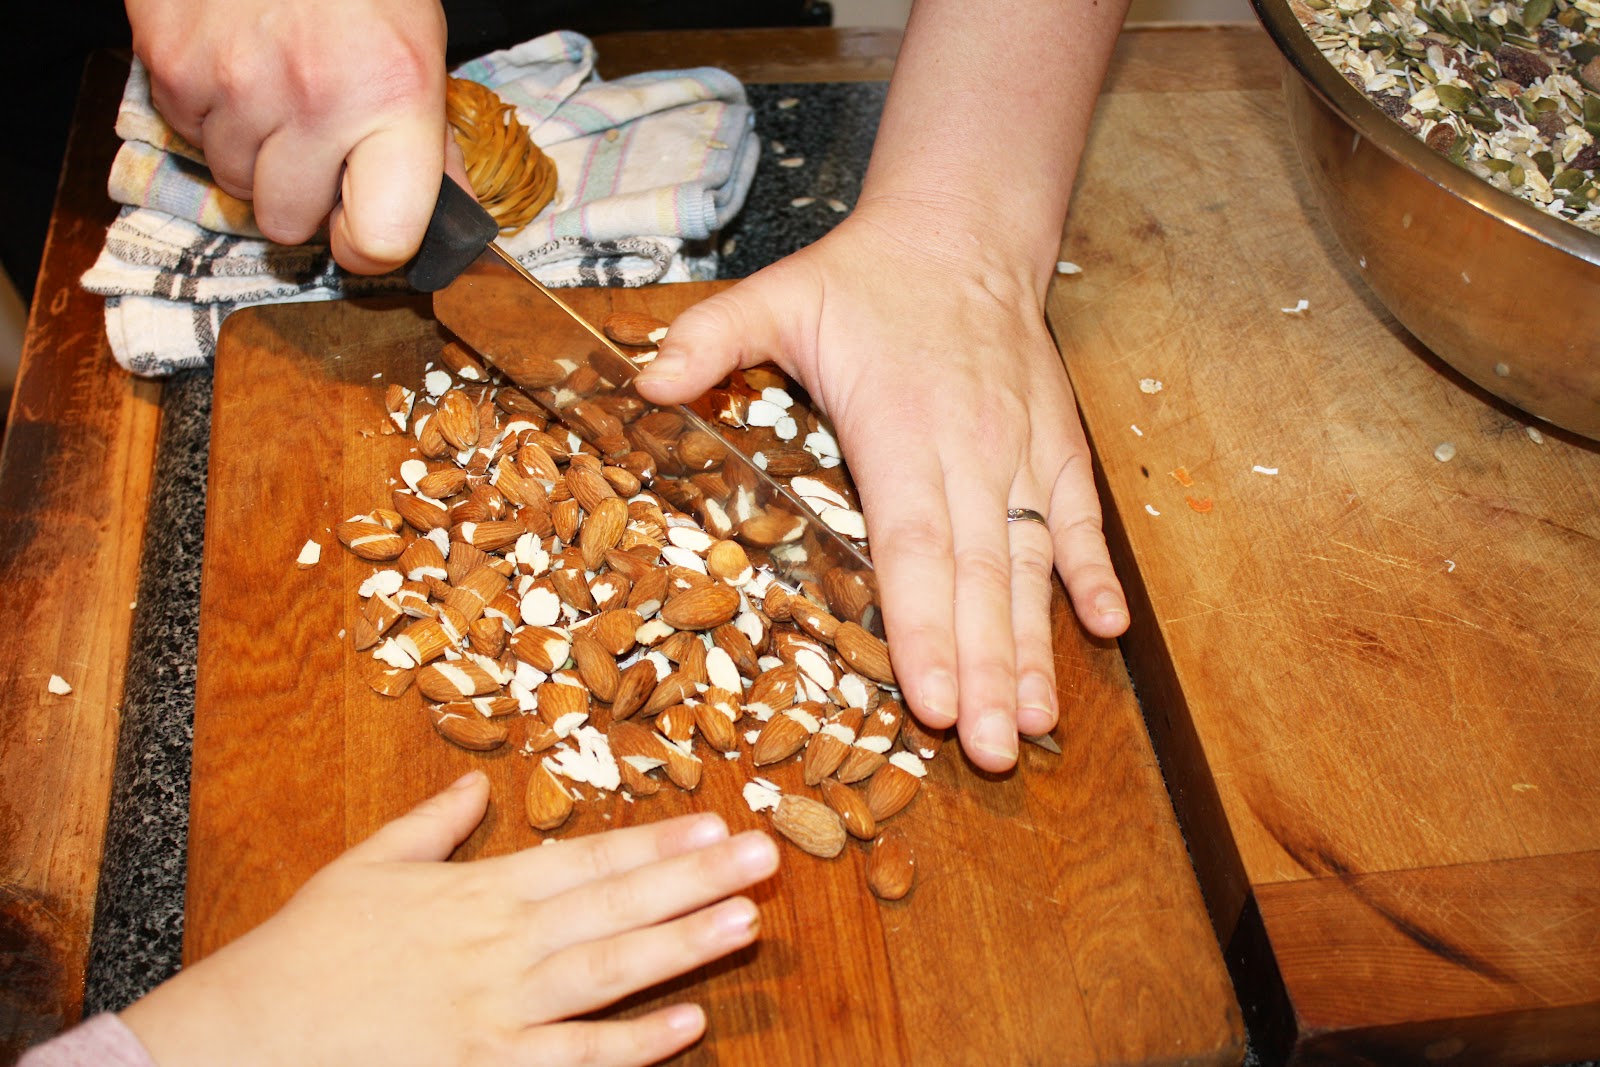
An excellent example of safe almond chopping

Into the bowl they go

Mix it all up


Kids love the mixing
Cinnamon and Apple
Cranberries are a tasty treat but can be high in sugar


Warming the honey and coconut oil together, the smell is heavenly.

Sticky fingers!

A nice thin layer is best
Et voila!


Monday, January 2, 2012

Where have all the bees gone?

Good question really, when I was a kid I remembered in summer the thrum of bees hanging around the lavender bushes. Bees and summer were synonymous. My mum was a hobby apiarist and every rata season we would watch the forest like a hawk to see if this would be a rata blossom boom year, which happened in cycles of about every 4 years. Then mum would drive out with her hives and leave them where the bees could gorge on rata blossoms and make the most delicious honey ever. Honey would sit in 3 litre plastic oil bottles in the back porch like sticky black gold, it was mostly bush honey with manuka, kanuka, rata and whatever else was blooming in the Kahurangi National Park which was right on our doorstep.

A swarm of Top Bar Beehives

Being an apiarist had its challenges, like the time the bees moved into our bathroom and built a hive on the window, or when I kind heartedly decided to feed the bees when I was at school and a whole hive basically decamped to the playground. I’ll never forget the time we had a summer swarm and mum had us running around banging tin pots, blowing our recorders and otherwise rousing a din because the vibrations encourage bees to land and mum didn’t want to lose a hive. Mum eventually gave up beekeeping because the hives were getting too difficult to upkeep, but we had honey for years to come and because honey keeps indefinitely it was a good investment!

Nowadays I simply don’t see bees around anymore. We see bumblebees and plenty of wasps but very few bees. There are a number of theories for it but the truth is no one really knows, some factors are known such as varroa mite, American foul brood and colony collapse disorder – which is basically just a fancy term for we have no idea why the bees are dying.  There are a lot of theories on why bees are disappearing which range from the use of glyphosphate, seasonal changes to cellphone towers. None of these reasons are universally accepted by scientists or beekeepers as a whole but what IS agreed upon is that if bees continue to decline at the rate they are and if they are allowed to die out then our food supply is at risk on a global level. The best explanation I have heard is ‘nature deficit disorder’ which is explained in this video. Save Our Bees is a charitable trust in NZ dedicated to the preservation of bees, they run courses and workshops and accept donations. They have some great advice on how to promote bees passively by planting a bee friendly garden or setting up bee stations.

So how can we help? Because of the challenges that beekeeping has nowadays, fewer and fewer beekeepers are in business. This is because not only are regulations getting tougher and tougher to prevent the spread of American Foul Brood and the Varroa mite but also because the upkeep of commercial langstroth hives is intensive and losing half of your hives to colony collapse disorder a few years running is enough to wipe out any profit margin that there may have been.

Avoiding the use of pesticides including round up, in your garden and putting up a no spray notice which is obtainable from your local council is a good first step. Planting bee friendly plants such as phacelia, lavender and rosemary is another good step, as is making a bee station, bumblebee nest or bee hotel. One of the most proactive steps is to of course have your own backyard beehive. For a variety of reasons urban bees are healthier than bees in agricultural areas and this has prompted an upsurge in urban backyard beekeeping. There are some amazing urban designs tobe seen, but for ease of use, cost effectiveness and simplicity Top Bar Hives are one of the best home hive designs. They are not suitable for commercial beekeeping because their yield is slightly lower and they are less open to commercial pest treatments but they are perfect for the first time or hobbyist beekeeper. Last year I received some funding from Sustainable Dunedin and ran a series of top bar beehive making workshops. I had never made a hive before so it was a serious learning curve for me but well worth the effort.

Some things you should consider before making a hive for the back yard.

Your neighbours. Most neighbours won’t even notice that you have a hive but if you live in close quarters then you may want to okay it with them first.

Your council guidelines. Our council allows hives but if someone complains about it then you will be asked to dispose of it – which brings us back the the neighbours point.

MAF. all hives have to be registered with MAF including their GPS location (easier than you think there is a website that allows you to pinpoint your hive) this costs an annual fee of $35  for you to be registered with the AFB watch team.  Every so often a MAF representative will visit you and check for American Foul Brood. It's important to realise that if they discover signs of AFB in your hive then it may be destroyed.

Hive equipment. You don’t need much but a white onesie and a bee hood are ideal if not completely necessary. To maintain a top bar hive you need gloves, a spray bottle and a knife. Simple huh!

Forage. Bees can travel for several miles so it’s not a huge concern but it’s nice for them to have some forage closer to home in the form of flowers and blossoming trees.

Locale.  Bees need to have a hive that is well protected from wind and has a direct line of flight to get up and out of your section. There is some great advice on hive location here.

Maintenance. Beehives don’t need much maintenance but they do need to be checked for disease at least 2-5 times a year and you may need to apply some disease treatment. They may need to be fed during the winter and of course you will need to harvest the honey from time to time to stop them from swarming.

If top bar beekeeping sounds like you then it’s time to build one!  This is the pattern we used, which seems more complex than it is, I am working on simplifying it, once you get around all the measurements it is a relatively basic construction. It took a group of us from 9 in the morning until 3 in the afternoon to complete a hive each and it would have been a lot shorter if it were just one person using the equipment. I found it was great to get together with a group of like minded individuals, that way we had support building them and could share tools and knowledge. No one had a suitable workshop so we ended up joining the blokes shed which is a non profit group that has popped up in schools nationwide. It cost $25 to join and it gives you a years use of the blokes shed plus the support and advice of two wonderful ‘blokes’ who showed us how to use the machinery including a drop saw and a table saw. These two items are not essential but they do make it a LOT easier. To build a top bar beehive at home you really only need a saw, a ruler, a pencil and a drill. A vice is handy but only essential if you can’t get the wood sized to full width. I am not a builder but even I found that building a top bar hive was a really simple project. 


Drilling end boards


The basic construction of a top bar hive is a long box with a roof and sometimes legs (though you can see them hanging from trees on chains or propped up on cinderblocks). There are two 'excluders' which allow you to control the size of the hive - too small and the bees will swarm and too big they won't be able to keep the space warm enough. The honey comb is built free form on a series of laths or 'top bars' placed across the hive. This design keeps it simple and easy to check the hive and harvest the honey. The top bar hive design originated in Africa where they build hives out of almost anything including old refrigerators, 40 gallon drums and chests of draws. In NZ there are far more restrictions but top bar hives and their close cousins Emile Warre hives are both allowed.


I feel I have run out of space on this post to address a step by step guide to making a Top Bar Beehive but I am putting one together, in the mean time here are some really handy links that will give you all the knowledge and information you need to get started!


Barefoot Beekeeper - best one stop shop. I highly recommend buying the book
NZ Guide to top bar beekeeping - a really handy overview
Beenatural - great info on top bar hives
National Beekeepers Association 


One of the best things about having a home hive is the opportunity to teach your children a real life skill. Bees are an amazing observational lesson on community and cooperation, in many ways they are more valuable than having a family pet. They are a wonderful introduction to biodiversity and a lesson on our place in the world, teaching children about how bees are key to our food growth and plant pollination is a strong life lesson. Showing your children to value nature as a co-mutual investment is one of the best life skills available it's also a hands on way of experiencing the value of food and sustainability.

Due to babies I haven’t had time to complete my hive and get it ready for use, so it is sitting forlornly in our garage waiting to be filled with bees. I am keen to get the final coat of oil and wax on so I too can have a hive of happy pollinators on the fly and bottles of liquid gold sitting in the pantry, but most importantly I will be doing my bit to prevent the decline of bees and protect our biodiversity.